

After experimenting with ultra-budget dress watches, I wanted to see what happens when you spend a bit more on a brand with a “cult” reputation. Escapement Time is a name whispered in enthusiast circles; a brand that supposedly operates as a small, detail-oriented outfit rather than a faceless factory. I picked up their 38mm Chronograph to see if the reality lived up to the Reddit rumors.
Continue reading Escapement Time VK64 Chronograph: The “Micro-Brand” Secret of AliExpress
The Gatekeeper in the Machine: Taming the Inbox with Local LLMs
The modern inbox is frequently a wasteland of unanswered queries, automated noise, and chaotic requests that require three follow-up emails just to establish the basic facts. While corporate giants throw massive, energy-hungry models at this problem, there is a far more elegant, “old-school meets new-school” solution brewing on the command line. By combining the rock-solid reliability of Unix mail tools with the nuanced reasoning of a 14b parameter Large Language Model, it is possible to build a digital front-desk that does not just acknowledge receipt, but actually thinks.
Continue reading The Gatekeeper in the Machine: Taming the Inbox with Local LLMs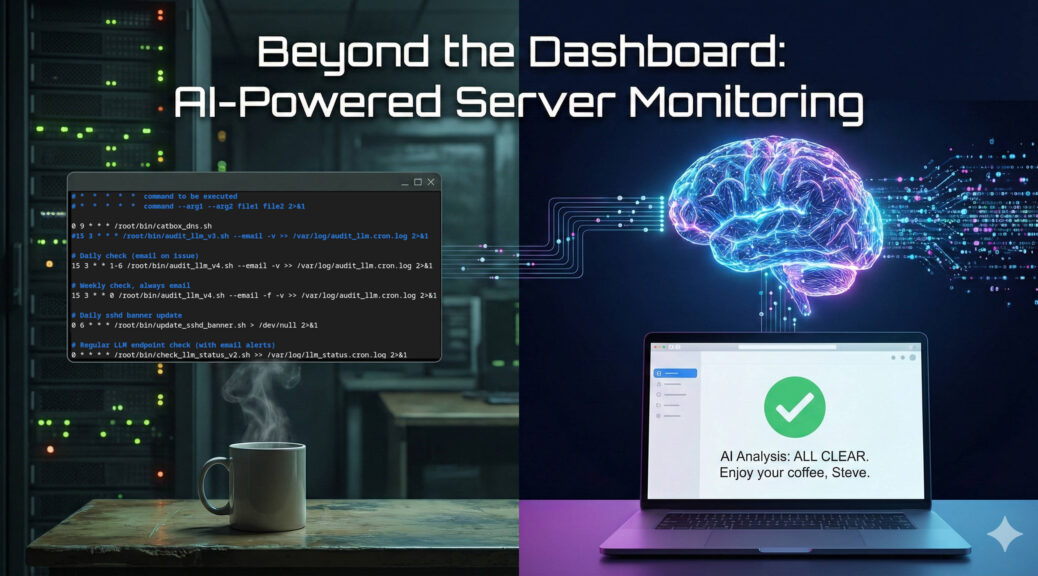
Beyond the Dashboard: How a 14B LLM Brought Real Intelligence to My Server Monitoring
If you manage Linux servers, you already know the morning ritual. You sip your coffee and stare at your monitoring dashboards. Grafana, Zabbix, Datadog – pick your poison. They are excellent at showing you lines on a graph, but let’s be honest; traditional monitoring is fundamentally “dumb.”
Standard monitoring relies on rigid thresholds. If CPU usage hits 95%, you get an alert. But what if that 95% CPU usage is just the scheduled weekly backup running alongside a routine malware scan? Your dashboard doesn’t care. It fires off an alert anyway, contributing to the slow, inevitable creep of alert fatigue.
I wanted something better. I didn’t just want monitoring; I wanted monitoring plus intelligence.
Continue reading Beyond the Dashboard: How a 14B LLM Brought Real Intelligence to My Server Monitoring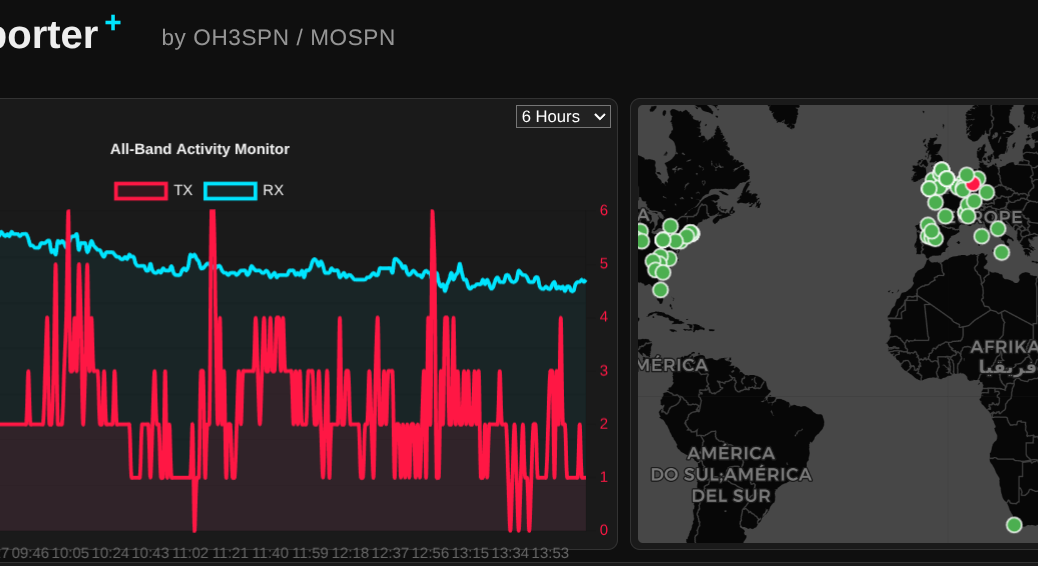
From the Ham Shack to the Edge: Delivering Real Value with Local LLMs
What happens when you combine an NVIDIA RTX 3060, an open-weight 14-billion parameter LLM, and a global network of amateur radio operators? You get a surprisingly perfect example of edge computing.
Continue reading From the Ham Shack to the Edge: Delivering Real Value with Local LLMs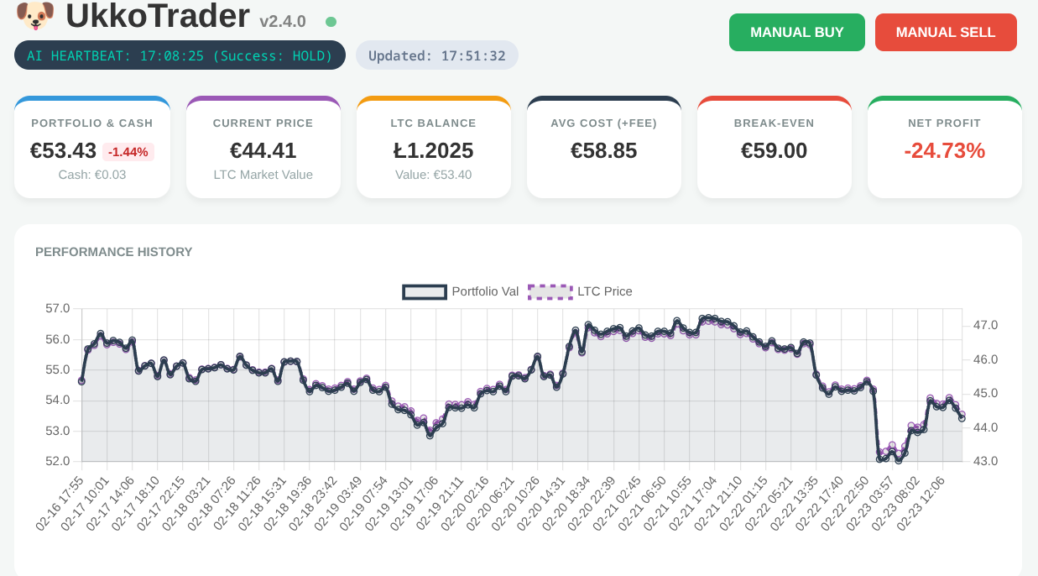
What I Learnt Giving an LLM Agent Control of My Crypto Wallet
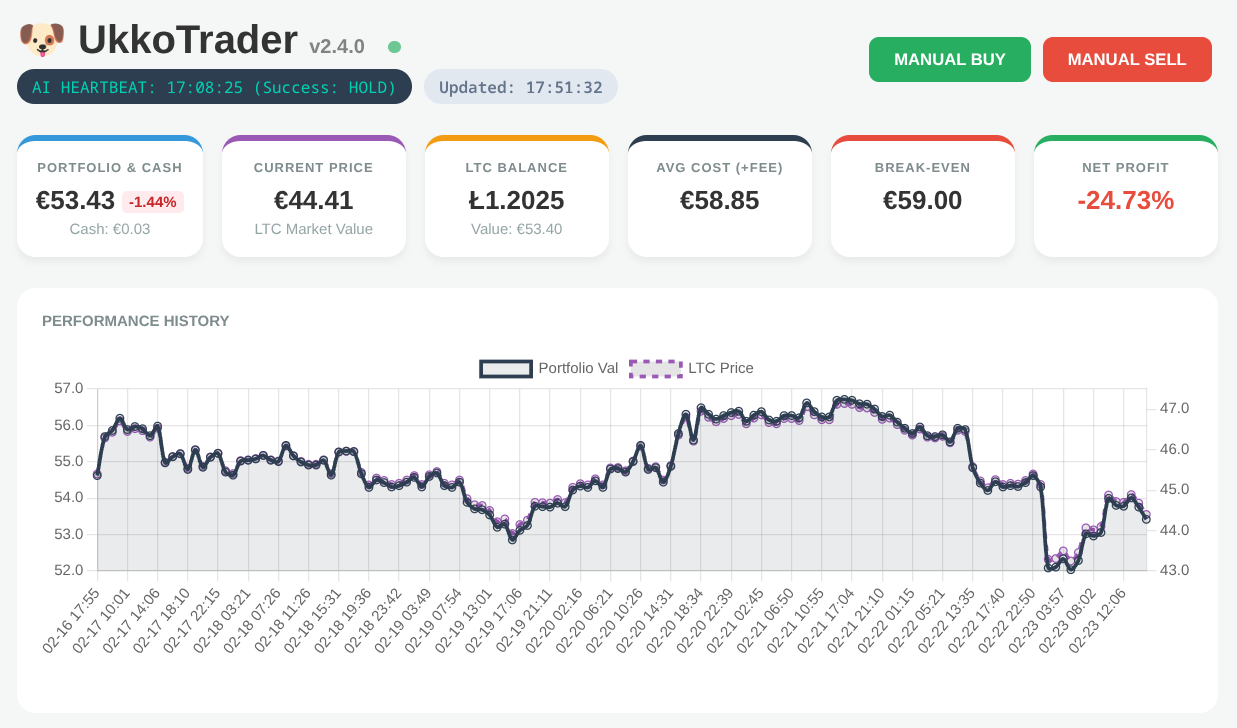
In my role as a Senior OpenShift Technical Account Manager at Red Hat, I focus on mission-critical stability; helping organisations navigate the shift from cloud-native architectures to AI-ready operations. But there is a distinct difference between advising on a scalable MLOps workflow and trusting a local LLM to trade your own capital in a volatile market.
Would you trust an AI agent with your bank account? I did; and it was a masterclass in ‘Boom or Bust’ logic.
Continue reading What I Learnt Giving an LLM Agent Control of My Crypto Wallet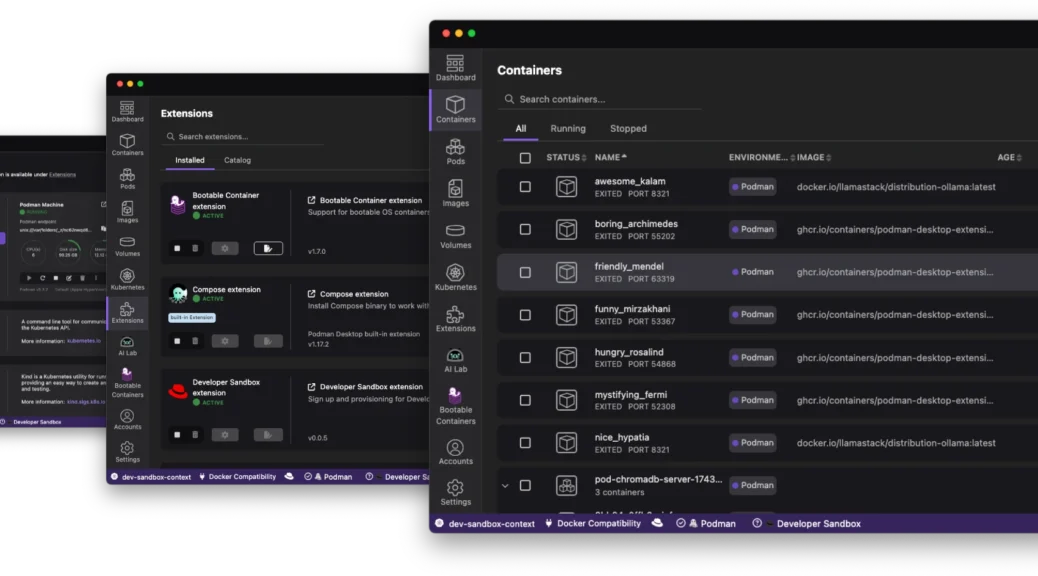
Navigating the Future of Local Development: The Red Hat Build of Podman Desktop
The “it works on my machine” excuse has officially reached its expiration date. As we move through 2026, the complexity of modern applications – often involving a mix of containers, Kubernetes manifests, and now local AI models – demands a local environment that is not just a sandbox; it is a mirror of production.
Enter the Red Hat build of Podman Desktop.
Continue reading Navigating the Future of Local Development: The Red Hat Build of Podman Desktop
Chronus Time CH080x Review: The Best €13 Dress Watches on Temu?
Finding a reliable, attractive dress watch for the price of a fast-food meal is a gamble. After my previous experiences with ultra-budget Chinese timepieces, my expectations were low. However, the Chronus CH0801 and CH0804 (aka CH3004, CH2801?) models have proven to be a pleasant surprise.
Continue reading Chronus Time CH080x Review: The Best €13 Dress Watches on Temu?
Fedora 42 Meets CUDA 12.9: The Quest to Build vllm (InstructLab)
Over the past couple of weeks I’ve been wrestling with building vllm (with CUDA support) under Fedora 42. Here’s the short version of what went wrong:-
Continue reading Fedora 42 Meets CUDA 12.9: The Quest to Build vllm (InstructLab)From Zero to Openshift in 30 Minutes
Discover how to leverage the power of kcli and libvirt to rapidly deploy a full OpenShift cluster in under 30 minutes, cutting through the complexity often associated with OpenShift installations.
Continue reading From Zero to Openshift in 30 MinutesOpenShift: How to determine the latest version in an update channel.
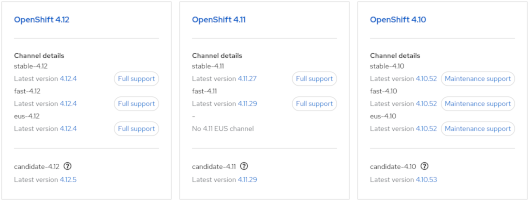
- Visit https://console.redhat.com/openshift/releases
or - Visit the Red Hat OpenShift Container Update Graph at https://access.redhat.com/labs/ocpupgradegraph/update_channel
- Using the CLI (curl & jq):-
curl -s https://api.openshift.com/api/upgrades_info/v1/graph?channel=stable-4.11 | jq -r '.nodes[].version' | sort -V | tail -n1
Also, to check available upgrade edges:-
curl -s -XGET "https://api.openshift.com/api/upgrades_info/v1/graph?channel=stable-4.11" --header 'Accept:application/json' |jq '. as $graph | $graph.nodes | map(.version == "4.10.36") | index(true) as $orig | $graph.edges | map(select(.[0] == $orig)[1]) | map($graph.nodes[.]) | .[].version'
Further examples can be found at https://access.redhat.com/solutions/4583231